 Natalie Sullivan
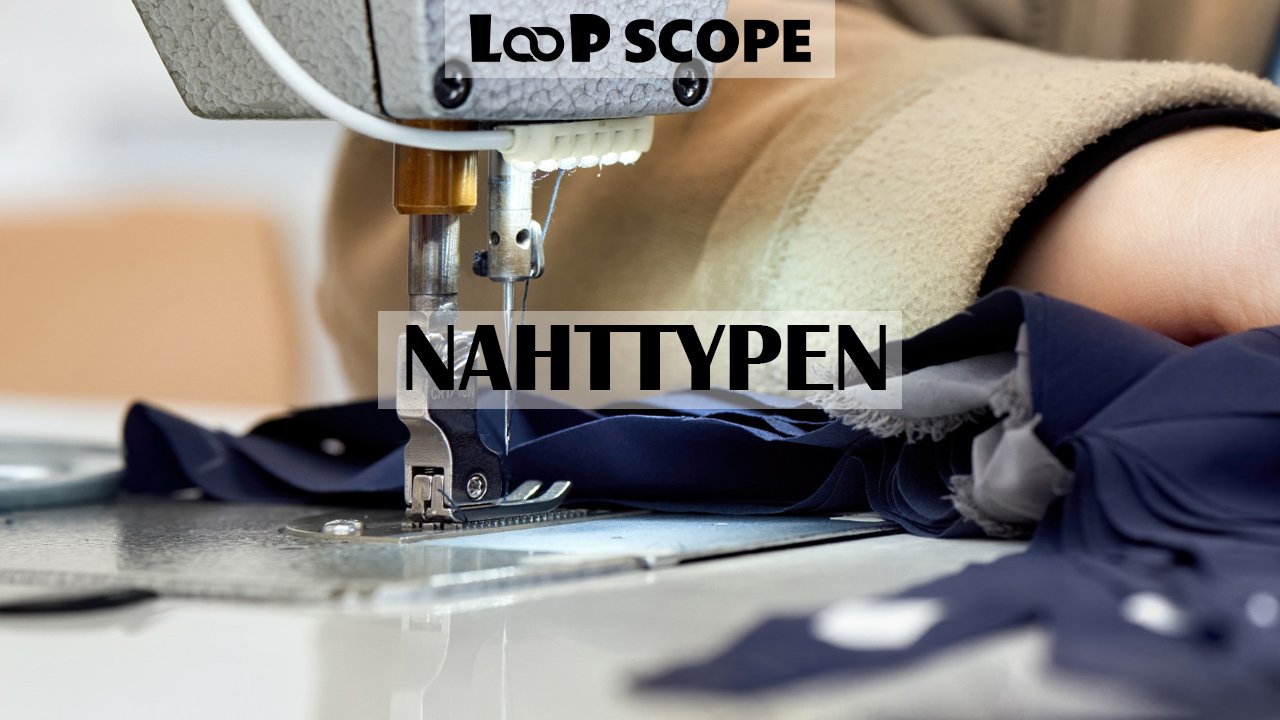
Nahttypen is the German word for seam types, and it covers every way two pieces of fabric can be joined with thread. The right seam keeps a garment strong, flat, and clean on the inside. The wrong one leaves you with fraying edges, puckered lines, or a side seam that splits the first time you sit down.
This guide covers twelve seams that handle almost every project, from the plain seam to the flatlock. You will learn how each one works, where it performs best, and where it tends to cause trouble. A comparison table near the middle helps you choose quickly.
What Are Nahttypen and Why Do They Matter?
Nahttypen are the different methods of joining fabric with stitching. A seam is the line where two or more layers meet, and the type depends on how the raw edges are arranged, how many rows of stitching are used, and whether the edges are hidden or exposed. The seam is one of the oldest and most basic elements of sewn construction.
Seam choice affects more than looks. It controls how much stress the join can handle, how the garment feels against the skin, and how well the edge resists fraying in the wash. Industry standards such as ISO 4916 sort seams into broad classes, including superimposed, lapped, bound, and flat seams. Home sewists rarely need the formal codes, but the idea behind them is useful: seams differ by how the layers sit against each other.
How to Choose the Right Seam for Your Project
Start with the fabric. Light, sheer, or fray-prone materials like chiffon and silk need seams that enclose raw edges. Heavy, tightly woven cloth like denim and canvas needs seams that bear strain. Stretch knits need stitches that can give without snapping.
Then think about where the seam will sit. A side seam on a fitted dress takes constant movement, while a seam inside a lined jacket stays hidden and protected. Visible seams should look tidy, and seams touching skin should feel smooth. If you enjoy browsing clothing ideas before choosing a project, the Fashion section at Loop Scope has plenty of inspiration.
The 12 Essential Seam Types
1. Plain Seam
The plain seam is the starting point for most sewing. You place two fabric pieces with right sides together, stitch along the seam allowance, and press the allowance open or to one side. Most commercial patterns use a 5/8 inch allowance for this seam.
It works on nearly every fabric, but the raw edges stay exposed. Finish them with a zigzag stitch, pinking shears, or a serger if the fabric frays. Plain seams suit shirts, skirts, pants, and home decor projects.
2. French Seam
A French seam encloses the raw edges completely, so the inside looks as neat as the outside. You first sew the pieces with wrong sides together using a narrow allowance, trim it, then fold the fabric so right sides meet and stitch again, enclosing the first line.
This is the classic choice for sheer fabrics, lightweight cotton, silk, and baby clothes. It is not ideal for thick cloth or sharp curves, because the double fold adds bulk and makes shaping difficult.
3. Flat-Felled Seam
The flat-felled seam is the tough, double-stitched seam you see on jeans and work shirts. One allowance is trimmed, the other is folded over it, and the whole thing is stitched flat. The result is strong, fully enclosed, and visible as two parallel lines on the outside.
It handles heavy wear very well and works on denim, twill, canvas, and sturdy cotton. It does take practice, since the fold must stay even and the fabric can get bulky at intersections.
4. Mock Flat-Felled Seam
A mock flat-felled seam gives a similar look with less fuss. You sew a plain seam, press the allowances to one side, fold the raw edges inward, and topstitch the folded layer down. Since you are folding rather than trimming, the process is faster and more forgiving.
It is a good choice when you want the rugged look of a felled seam on mid-weight fabrics, or when you are working on a standard sewing machine and want tidy insides without a serger.
5. Overlock (Serged) Seam
An overlock seam is made with a serger, also called an overlocker. The machine trims the edge, stitches the seam, and wraps thread around the raw edge in a single pass. It is the standard way ready-to-wear clothing is assembled.
The seam is quick, flexible, and neat, which makes it ideal for knits and stretch fabrics. Its limits are cost and space, since a serger is a separate machine from your regular sewing machine and needs its own threading and maintenance.
6. Welt Seam
A welt seam is a plain seam with one allowance trimmed shorter, then pressed to one side and topstitched on the outside. The topstitching holds the wider allowance flat and adds subtle strength and shape.
Tailors often use it on coats and jackets made from medium to heavy fabrics. It lies flat without much bulk, and the single topstitched line gives a refined, structured appearance.
7. Topstitched Seam
A topstitched seam starts as a plain seam. After pressing the allowances open or to one side, you stitch a visible line on the right side, usually 1/8 to 1/4 inch from the seam. The extra line keeps the allowance flat and adds a decorative touch.
You can use contrasting thread to make it a design feature. Topstitching works on jackets, pants, bags, and anywhere you want a crisp edge. Uneven spacing shows immediately, so slow down and use a guide on your machine.
8. Lapped Seam
In a lapped seam, one fabric edge overlaps the other and you stitch through both layers. It is used on materials that do not fray, such as leather, suede, felt, and interfacing, because there is no need to hide the edge.
It removes the bulk that a standard seam would create in thick, non-woven materials. Do not use it on ordinary woven fabric unless you plan to turn the edge under, since the raw edge will fray.
9. Bound Seam (Hong Kong Finish)
A bound seam wraps the raw edges in a strip of bias tape or lightweight fabric. The Hong Kong finish is the best known version, where each allowance is bound separately and the seam is pressed open.
This is a favorite for unlined coats, jackets, and fine dresses where the inside is visible. It looks beautiful and prevents fraying, though it takes time and works best when the binding fabric is thin enough to avoid adding bulk.
10. Double-Stitched Seam
A double-stitched seam is a plain seam stitched a second time, usually 1/8 inch from the first line, then trimmed close to the second row. It adds strength and a degree of edge security without special equipment.
Sewists often use it on stretch fabrics when a serger is not available, or on stress points such as crotch and underarm seams. It is a practical, low-cost fix for seams that need to survive heavy use.
11. Slot Seam
A slot seam joins two folded edges over a separate strip of fabric underneath, leaving a gap, or slot, between the folds. The strip shows through and creates a decorative stripe along the seam line.
It is mainly a design seam, found on tailored jackets, dresses, and upholstery. It rewards careful work, because uneven folds or a crooked underlay are obvious in the finished piece.
12. Flatlock Seam
A flatlock seam butts two edges together and joins them with a stitch that lies flat on both sides. It is made on a serger or a coverstitch machine and produces a smooth join with very little bulk.
You will find it on activewear, sports bras, and base layers, where seams must stay comfortable against the skin during movement. The stitch is stretchy but not as strong as a standard overlock, so it suits lighter stress points.
Nahttypen Comparison Table
This table summarizes the twelve seams so you can compare them at a glance.
| Seam Type | Best For | Strength | Edge Finish | Difficulty |
|---|---|---|---|---|
| Plain | Most woven fabrics | Moderate | Exposed unless finished | Easy |
| French | Sheer and lightweight fabrics | Moderate | Fully enclosed | Medium |
| Flat-felled | Denim, canvas, work shirts | Very high | Fully enclosed | Hard |
| Mock flat-felled | Mid-weight cotton, twill | High | Folded and enclosed | Medium |
| Overlock | Knits, stretch fabrics | Moderate to high | Trimmed and wrapped | Easy to medium |
| Welt | Coats, jackets | High | One edge exposed inside | Medium |
| Topstitched | Pants, jackets, bags | High | Depends on base seam | Easy to medium |
| Lapped | Leather, felt, suede | High | Raw edge, no fray | Medium |
| Bound | Unlined jackets, fine dresses | Moderate | Fully bound | Hard |
| Double-stitched | Stretch fabrics, stress points | High | Partly secured | Easy |
| Slot | Decorative tailoring | Moderate | Hidden underlay | Hard |
| Flatlock | Activewear, base layers | Moderate | Flat, no bulk | Medium |
Matching Seams to Common Fabrics
Fabric type is the quickest way to narrow your choices. Silk, chiffon, and organza do best with French seams, which hide fraying threads that would otherwise show through the cloth. Cotton shirting works well with plain seams finished by a zigzag or serger, or mock flat-felled seams if you want a cleaner inside.
Denim and canvas call for flat-felled or mock flat-felled seams, since both can take the strain of daily wear. Wool coating pairs naturally with welt, bound, or topstitched seams, which control bulk and keep the shape. Jersey and other knits need a seam that stretches, which means an overlock, a flatlock, or a narrow zigzag stitch on a standard machine.
If you are new to sewing and still collecting ideas for hobbies and projects, the Lifestyle section at Loop Scope covers a wide range of creative interests.
Seam Finishes That Work With Basic Seams
Some of the seams above need a finish on the raw edges. A zigzag finish is the simplest: you stitch a zigzag line along each allowance edge so the threads cannot unravel. Pinking shears cut a zigzag edge that slows fraying on tightly woven cloth, though they are not enough for loosely woven fabrics.
A turned-and-stitched finish folds the allowance edge under by about 1/4 inch and stitches it down. It works well on lightweight fabrics that will not add bulk when folded. Choose a finish that fits the fabric, since a heavy edge treatment on thin cloth can show through as a ridge on the right side.
Common Seam Mistakes and How to Fix Them
Puckering is the most common complaint. It usually happens when the stitch length is too short for the fabric, the thread tension is off, or the needle is dull or the wrong size. Test on a scrap of the same fabric before sewing the real piece, and change the needle at the start of each project.
Another frequent problem is a seam that splits under stress, which usually means the stitch was too long, the seam type was too weak for the location, or a stretch fabric was sewn with a straight stitch. Switch to a stretch or overlock stitch, or use a double-stitched seam at stress points.
Uneven seam allowances cause crooked seams and poor fit. Use the guide lines on your needle plate, or place a piece of tape at the correct distance as a visual guide. Pressing every seam as you sew also makes a visible difference, because a pressed seam sets the stitches and gives each layer a crisp edge.
Practical Tips for Better Seams
Match your thread to your fabric. Polyester thread works well on most synthetics and knits, while cotton thread suits natural fibers. Pick thread that is as strong as the fabric, but not stronger, because very strong thread can tear fragile cloth before it breaks itself.
Adjust stitch length to the project. A standard length of around 2.5 millimeters works for many woven fabrics, while heavier cloth often needs a longer stitch for a clean line. Backstitch at the start and end of each seam to lock the threads, except in places where a backstitch would be visible.
Practice each seam on scrap fabric before using it on a finished project. A few minutes spent learning how a French seam folds or how a flat-felled seam sits will save you from unpicking a full garment later.
Conclusion
Understanding Nahttypen gives you control over how a garment looks, feels, and holds up. The plain seam handles everyday work, the French seam protects delicate cloth, the flat-felled seam takes on heavy wear, and the overlock and flatlock seams serve stretch fabrics. Specialized options like the welt, bound, slot, and lapped seams cover tailoring and non-woven materials.
The takeaway is simple: choose the seam based on the fabric, the amount of stress, and how the inside will be seen. Start with plain and French seams, add a flat-felled seam when you are ready for sturdier projects, and test every new technique on scraps first.
Frequently Asked Questions
What does Nahttypen mean?
Nahttypen is German for “seam types.” It refers to the different ways fabric pieces can be joined with stitching, such as plain, French, flat-felled, and overlock seams.
What is the strongest type of seam?
The flat-felled seam is generally considered the strongest for woven fabric. It encloses the raw edges and uses two rows of stitching, which is why it appears on jeans and work clothing.
Which seam is best for beginners?
The plain seam is the best starting point. It needs only a straight stitch and a consistent allowance, and you can finish the edges with a zigzag stitch.
What is the best seam for sheer fabric?
A French seam is usually the best choice. It encloses the raw edges inside the seam so no frayed threads show through the transparent cloth.
Can I sew stretch fabric without a serger?
Yes. Use a narrow zigzag stitch, a stretch stitch, or a double-stitched seam on a regular machine. A ballpoint or stretch needle also helps prevent skipped stitches.
What is the difference between a flat-felled and a mock flat-felled seam?
A flat-felled seam trims one allowance and folds the other over it before stitching. A mock flat-felled seam is sewn as a plain seam first, then folded and topstitched, which is easier but slightly less sturdy.
How wide should a seam allowance be?
Most commercial home sewing patterns use 5/8 inch. Some patterns use 1/4 or 1/2 inch, so always check the instructions, especially for French and bound seams.